
How To
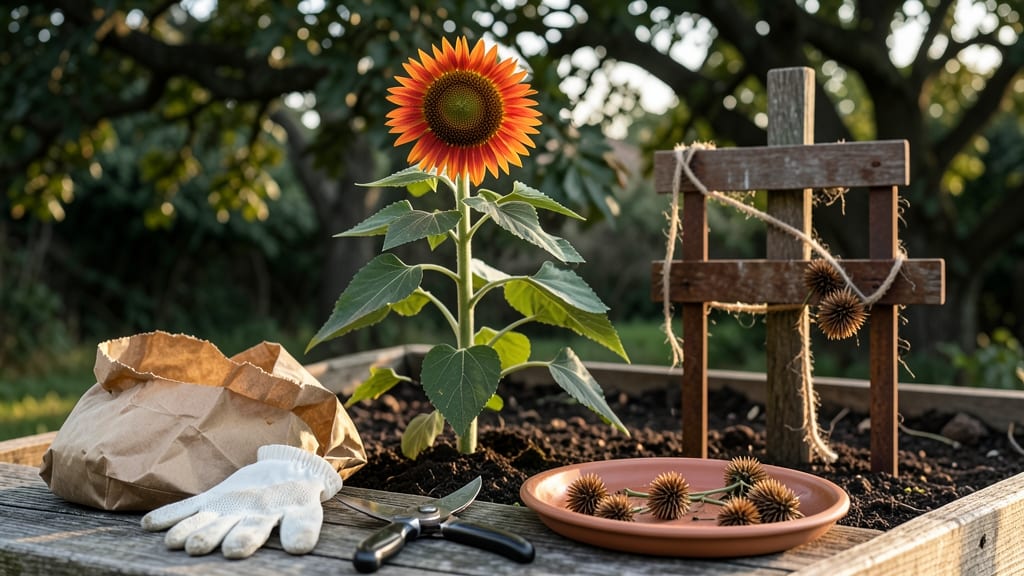
Harvesting Mexican sunflower seeds at the right time means the difference between a bountiful stash of seeds and a wasted effort. These vibrant 🌻 blooms don’t just brighten your garden—they produce seeds that thrive in drought conditions, making them a gardener’s secret weapon.
But timing is everything. You’ll know your Mexican sunflower seeds are ready when the flower heads turn completely brown and dry, almost like crispy paper. If you wait too long, the seeds will scatter on their own, leaving you with nothing to save for next year.
I’ve learned the hard way that rushing the harvest leads to low-quality seeds. The key is patience—wait until the heads crumble easily at the touch and the seeds rattle inside. Once you spot these signs, you’re just minutes away from a successful harvest.
In this guide, I’ll walk you through every step—from identifying the perfect moment to drying and storing your seeds—so you can maximize your yield and keep your garden thriving for seasons to come.


When to harvest Mexican sunflower seeds: signs of perfect ripeness
Harvesting Mexican sunflower seeds at the right time is crucial for ensuring high seed viability and maximizing your yield. These vibrant flowers (Tithonia rotundifolia) follow a clear progression from bloom to seed maturity, and missing the window can mean wasted effort or poor-quality seeds.
Unlike common sunflowers, Mexican sunflowers have distinct visual cues that signal readiness. The flower heads undergo dramatic color changes, while the stems dry out and the seeds inside become loose. Ignoring these signs can lead to seeds that either won't germinate or are already scattered by birds or wind.
| Stage | Visual Cues | Tactile Test | Action |
|---|---|---|---|
| Early Bloom | Bright orange-yellow flowers open | Stems firm, no seed development | Monitor for color changes |
| Late Bloom | Petals wilt and drop; head turns brown | Seeds begin forming; slight give when pressed | Check weekly for maturity |
| Perfect Ripeness | Heads fully brown, papery texture; back splits open | Seeds rattle loudly when shaken; stems dry and brittle | Harvest immediately |
| Overripe | Heads turn grayish; seeds scatter easily | Stems snap; seeds fall out when touched | Seeds may lose viability |
The most reliable way to check for perfect ripeness is the seed rattle test. Gently shake a mature flower head over a white paper bag—if seeds fall out easily and make a loud rattling sound, they're ready.
This usually happens 8-10 weeks after flowering, depending on your climate.
Pay attention to the stem dryness as well. When the stems become brittle and snap easily at the base, it’s another clear sign. If you wait too long, the heads may split open naturally, releasing seeds to the ground or attracting wildlife like birds and squirrels.
Color changes are your best visual guide. Start by noting when the orange-yellow petals fall off, leaving behind a green seed head. Over the next 2-3 weeks, watch as the head turns from green to brown and finally develops a papery texture.
This transformation indicates the seeds inside are fully mature.
One common mistake is harvesting based solely on the flower head color. While brown is a key indicator, it’s not enough—you must also confirm the seed rattling and stem brittleness. For example, a head might look brown but still feel firm, meaning the seeds aren’t ready yet.
If you’re harvesting in a humid climate, seeds may take longer to dry on the plant. In these cases, monitor the heads closely and be prepared to harvest slightly earlier. Conversely, in dry conditions, the drying process speeds up, so check daily to avoid missing the window.
Once you’ve confirmed ripeness, act quickly. Use clean pruning shears to cut the entire flower head, leaving a 1-inch stem. Hang the heads upside down in a dry, well-ventilated area to finish drying. This prevents mold and ensures the seeds stay viable for storage.
Pro tip: Harvest on a dry, sunny day to minimize moisture exposure. If rain is forecasted, bring your harvested heads indoors immediately to protect them from dampness, which can reduce seed quality.
Step-by-step guide to harvesting and processing Mexican sunflower seeds
Now that you’ve identified your perfectly ripe Mexican sunflower seeds, it’s time to harvest and process them properly. The goal is to maximize seed viability while preventing mold, pests, or premature seed loss.
I’ve learned through trial and error that clean tools and a consistent drying method make all the difference in preserving those seeds for next season’s garden.
Start by gathering your essential tools: sharp pruning shears, a large paper bag or bucket, a drying rack or mesh screen, and a fine-mesh sieve or fan for cleaning. Having these ready will streamline the process and keep your seeds in top condition.
The key is to work efficiently once the heads are cut—delaying can lead to seeds scattering or absorbing moisture.
-
Step 1: Cut the Flower Heads
Use clean pruning shears to cut the entire flower head from the stem, leaving a 1-inch stem attached. This prevents the head from tipping over during drying. -
Step 2: Remove Excess Debris
Shake the head gently over a white paper bag to remove any loose chaff or insects. This early cleaning reduces contamination during storage. -
Step 3: Choose a Drying Method
Indoor: Hang heads upside down in a dry, well-ventilated area (like a garage or shed) for 1-2 weeks.
Outdoor: Lay heads on a mesh screen in direct sunlight for 3-5 days (if weather is dry). -
Step 4: Test for Complete Dryness
The seeds are ready when the flower head crumbles easily and the seeds rattle loudly when shaken. If heads feel damp, extend drying time. -
Step 5: Separate Seeds from Chaff
Rub the dried head between your hands over a fine-mesh sieve or use a fan to blow away lightweight debris. Repeat until only clean seeds remain. -
Step 6: Store Seeds Properly
Place clean, dry seeds in a paper envelope or airtight container with a desiccant packet. Label with the harvest year and store in a cool, dark place (like a fridge) for up to 3 years.
For indoor drying, I recommend using a dehumidifier or placing a silica gel packet near the drying heads to absorb excess moisture. This is especially important if your home has high humidity, as damp seeds can develop mold.
If you’re drying outdoors, choose a shady spot during the hottest part of the day to prevent seeds from overheating or cracking.
One critical tip is to avoid rushing the drying process. Seeds need time to reach the right moisture level—typically 5-10% humidity—to stay viable. If you’re unsure, perform the finger squeeze test: pinch a seed between your fingers.
It should feel dry and brittle, not soft or sticky. Overly hasty drying can reduce germination rates, so patience pays off in the long run.
After drying, separating the seeds from chaff can be tricky. I’ve found that a fine-mesh sieve (like those used for flour) works best, but a hair dryer on low heat can also help blow away debris if you’re working in a well-ventilated area.
For larger batches, consider using a seed cleaning kit available at garden supply stores—it saves time and ensures thorough cleaning.
Finally, proper storage is the last step in preserving your harvest. Seeds stored in paper envelopes breathe better than plastic, which can trap moisture. If you’re saving seeds for long-term storage (beyond a year), place them in the fridge or freezer to slow down metabolic activity and extend viability.
With these steps, you’ll have a reliable seed stash ready for next season’s planting.