
How To
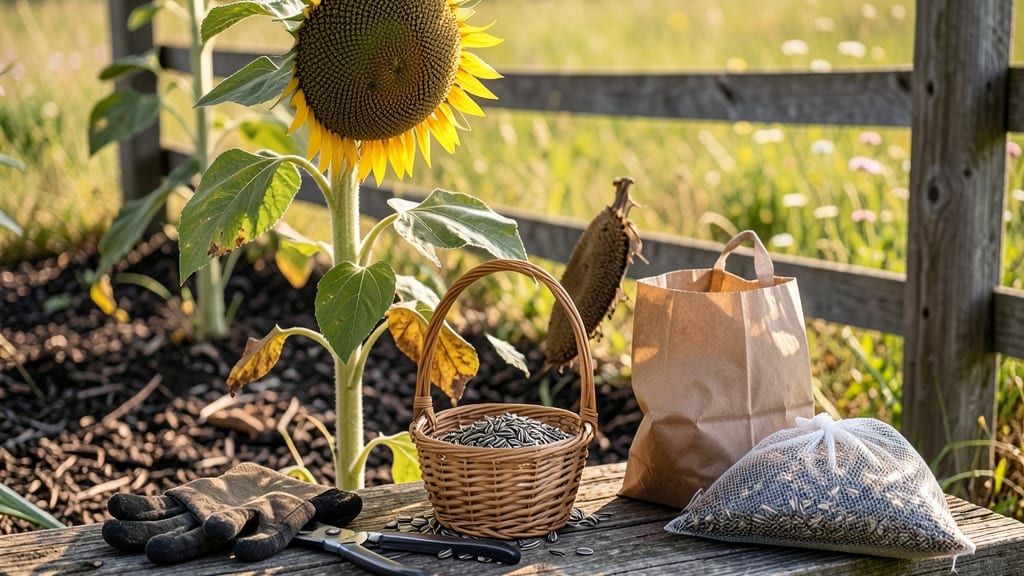
Knowing exactly when to harvest sunflower seeds can mean the difference between a nutritious harvest and wasted effort. If you wait too long, the seeds may shatter or attract pests, while harvesting too early leaves you with bitter, underdeveloped seeds.
The key is watching for subtle but unmistakable signs that your 🌻 sunflower is ready—like the back of the seed head turning brown and the petals drying out.
For gardeners in USDA Zone 6a, timing is especially critical since late summer frost can sneak up quickly. Missing the harvest window means losing your chance to save seeds for next year’s garden or enjoy them as a snack.
But with the right cues, you’ll never second-guess when to pick again.
I’ll walk you through the most reliable methods to test seed ripeness, from the classic "shake test" to checking the seed head’s color and texture.
You’ll learn how to avoid common mistakes and ensure your seeds are perfectly mature—whether you’re growing them for oil, bird feed, or planting more sunflowers next spring.
Ready to master the art of sunflower seed harvesting? Let’s dive into the simple steps that’ll transform your garden into a seed-saving goldmine—without the guesswork.


5 Key signs your sunflower seeds are ready for harvest
Harvesting sunflower seeds at the perfect moment ensures you get nutritious, flavorful seeds instead of bitter or shrunken ones. The key is watching for visual and tactile cues that signal maturity. These signs apply to both standard and dwarf varieties, though timing may vary slightly by type.
I’ve learned the hard way that waiting until the petals fall isn’t always enough—some varieties need extra attention. The back of the seed head is your best indicator, but you’ll also want to check the petals, seed color, and even give the head a little shake.
Let’s break down each harvest-ready sign so you never miss the window again.
🌻 5 Key Signs Your Sunflower Seeds Are Ready
- 1
- 2
- 3
- 4
- 5
Bright yellow petals fade to dull brown and droop. This signals the plant is redirecting energy to seed maturation. Dwarf varieties may show this faster than tall types.
Flip the head over—if the reverse side is uniformly brown (not green), seeds are ready. This is the most reliable test for oil-seed varieties like 'Mammoth Russian'.
Run your fingers over the head—it should feel light and brittle, not moist. Overly moist heads risk moldy seeds. Dwarf varieties dry faster in hot climates.
Gently shake the head over a bowl—if seeds fall freely with minimal resistance, they’re mature. A dull thud means they’re still green and unripe.
Pop open a seed—if it’s dark (not white or green), it’s ready. Light-colored seeds are underdeveloped. Black oil seeds mature faster than striped snacking types.
For USDA Zone 6a gardeners, timing is everything. If you’re growing 'Autumn Beauty' or similar varieties, watch for these signs in late August to early September.
In hotter zones, the process speeds up—sometimes by 1-2 weeks. Always harvest before the first frost, or seeds may sprout in the head.
Pro tip: If your sunflowers are uneven in ripeness, harvest the earliest heads first. Leave the laggards on the stem—they’ll catch up. And if you’re growing for bird feed, harvest slightly earlier than for snacking or planting seeds.
Now that you know what to look for, your next step is testing the seeds properly. The back-of-head method is foolproof, but I’ll show you how to avoid common pitfalls—like harvesting too early or missing the window entirely. Stay tuned for my step-by-step guide on the most reliable ripeness test!
🌱
How to test sunflower seed ripeness: the back-of-head method explained
The back-of-head method is the most foolproof way to determine if your sunflower seeds are ready for harvest. While many gardeners focus on the vibrant petals, the reverse side of the seed head holds the real clues.
This often-overlooked area turns a distinct brown color when seeds are fully mature, signaling it’s time to pick.
Why check the back? The sun-facing side of the flower head stays green longer, even after seeds mature. The shaded side, however, reveals the true ripeness.
This method works for all sunflower varieties, from dwarf types to towering giants, making it universally reliable for gardeners in USDA Zone 6a and beyond.
⚠️ callout-warning
⚠️ Warning: Don’t Skip This Step!
Harvesting too early leaves seeds underdeveloped and bitter, while waiting too long risks seed shatter or pest damage. The back-of-head method ensures you catch seeds at their peak maturity—when they’re dry, brown, and fully developed.
🔍 Pro Tip: Combine this method with the shake test—if seeds rattle loudly when you shake the head, they’re ready!
To test, stand behind your sunflower plant and examine the reverse side of the seed head. Look for a uniform brown color—this indicates the seeds inside are fully mature. If the back still has green or yellow patches, wait 3-5 more days before checking again.
This color change happens fastest in dwarf varieties and slower in tall, standard types.
Cloudy weather can delay ripening, so don’t rush the process. If skies stay overcast for weeks, extend your waiting period by 5-7 days to account for slower drying. Inconsistent ripening across plants? Check each head individually—some may mature faster due to sun exposure differences or plant health.
Once the back turns brown, act quickly. Use a sharp pruning shears or knife to cut the seed head from the stem, leaving a 1-2 inch stalk attached.
Hang heads upside-down in a dry, well-ventilated area for 1-2 weeks to finish drying. This prevents mold and ensures seeds stay viable for planting or snacking.
Mastering this method guarantees you’ll never miss the perfect harvest window again. With practice, you’ll recognize the subtle cues that signal readiness—transforming your garden into a seed-saving powerhouse year after year. 🌻