
Blooming
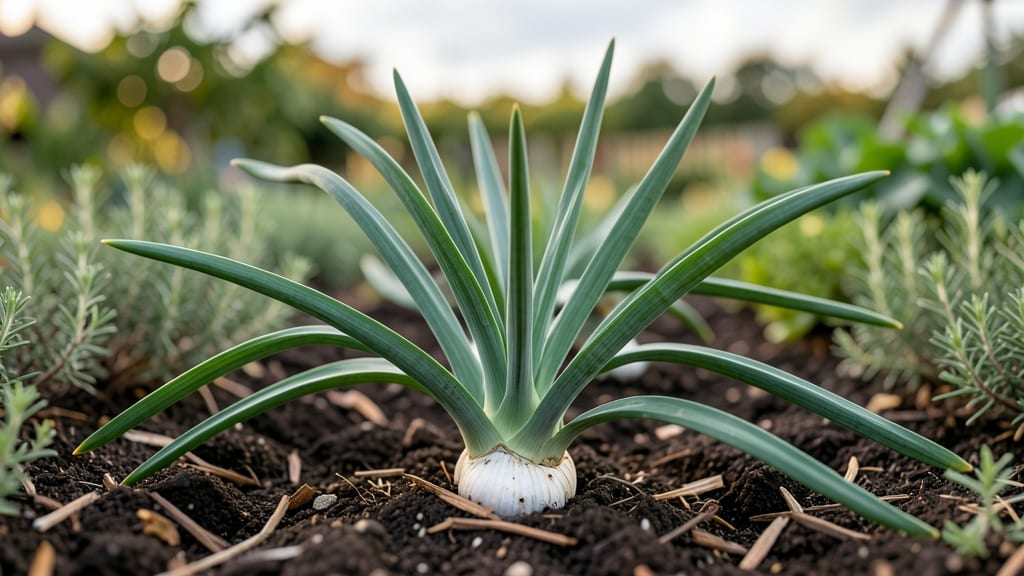
Harvesting allium greens before flowering isn’t just a gardening trick—it’s the key to unlocking a sweeter, milder flavor and extending your harvest by weeks.
When you cut the stalks at the right time, you’re not just getting fresh greens; you’re maximizing storage life and ensuring your garden keeps giving long after most plants have faded.
Most gardeners wait until the flowers bloom, but that’s when the flavor shifts and storage life drops.
The secret lies in timing: harvest those 🌷 allium stalks when the buds are firm but still closed, usually in April or May in Zone 6a. This simple step transforms your kitchen garden from a seasonal treat into a year-round resource.
Whether you’re growing green onions, chives, or garlic chives, this method works for all allium varieties. You’ll learn how to tell when they’re ready, the best way to cut them without stunting regrowth, and even how to store them for maximum freshness.
Let’s dive into the techniques that’ll keep your alliums thriving—and your pantry stocked—long after the flowers would have faded.
From bold flavors to longer storage, harvesting alliums before flowering is a game-changer for any gardener. I’ll walk you through the exact steps, seasonal tips, and even how to encourage multiple harvests from the same plant. Ready to make the most of your alliums?
When and how to harvest allium greens before flowering for maximum flavor
Harvesting allium greens at the perfect moment—right before flowering—is the secret to unlocking their sweetest, most tender flavor. When you time it right, you avoid the bitter, woody taste that develops as the plant matures. The key is watching for firm, closed buds while the leaves remain vibrant.
This window typically opens in late spring (April–May) for most allium varieties in Zone 6a, but timing varies slightly depending on whether you're growing green onions, chives, or garlic chives.
For green onions, aim to harvest when the leaf stalks reach 8–12 inches tall and the base remains plump. Chives and garlic chives, on the other hand, signal readiness when their flower stalks are 6–8 inches high but still tightly closed.
Cutting at this stage ensures you capture the peak flavor while leaving enough energy in the plant to regrow for future harvests. Missing this window means sacrificing both taste and storage potential.
Here’s the critical rule: Never harvest when buds begin to open. Once those 🌷 flowers appear, the greens become tougher and more pungent, and their storage life plummets.
The goal is to beat the plant’s natural shift toward reproduction—harvesting the greens first lets you enjoy the milder, sweeter profile while the plant still directs energy toward leaf growth.
The best time of day to harvest is morning, after the dew has dried but before the sun intensifies. This ensures the greens are crisp and full of moisture.
Use a sharp pair of pruning shears or a clean knife to cut the stalks about 1 inch above the base. Avoid pulling or tearing the leaves, as this can damage the plant’s ability to regrow.
For green onions, you can also snip individual stalks, leaving the rest to continue growing.
If you’re unsure whether your alliums are ready, check for these three key signs: the buds should be firm to the touch, the stalks should stand straight and upright, and the leaves should remain vibrant green without yellowing.
Over-mature alliums will have soft, floppy buds and dull-colored leaves, indicating it’s too late for a quality harvest. At this stage, the flavor becomes bitter, and the greens are best used immediately rather than stored.
Seasonal timing is crucial, especially in Zone 6a. For spring-planted alliums, harvest in April or May before the buds open. If you planted in fall, you may get an earlier harvest in late March.
In warmer climates, adjust for 2–4 weeks earlier, while cooler zones may need to wait until June. Always monitor your plants closely, as weather fluctuations can shift the harvest window.
Proper cutting technique preserves both flavor and regrowth potential. Always cut at a 45-degree angle just above a leaf node to encourage new growth. For chives and garlic chives, you can even harvest the flower stalks themselves—they’re edible and add a delightful oniony or garlicky note to dishes.
Just be sure to leave at least 2–3 inches of stalk to allow the plant to recover and produce more greens.
One common mistake is harvesting too aggressively, which weakens the plant. Limit yourself to one-third of the stalks at a time, especially for chives and garlic chives, which regrow more slowly.
Green onions are hardier and can handle more frequent cuts. After harvesting, give your alliums a light drink of water and a balanced fertilizer (like 5-10-10) to encourage
Storage methods to preserve allium greens after pre-flowering harvest
After harvesting your allium greens at the perfect pre-flowering stage, proper storage becomes crucial to preserve their sweet, mild flavor and crisp texture. The right method can extend shelf life by up to 4 weeks while maintaining nutrient density.
Unlike over-mature greens, those harvested early store beautifully with minimal nutrient loss when handled correctly.
Your storage choice depends on how quickly you’ll use the greens and whether you prefer freshness, convenience, or long-term preservation. Refrigeration is the simplest method for short-term use, while freezing and drying unlock year-round access.
Fermenting, though less common, adds probiotic benefits while preserving flavor. Let’s compare each method’s effectiveness.
For short-term storage (1–4 weeks), refrigeration is your best bet. Place freshly harvested allium greens in a perforated plastic bag or airtight container lined with a paper towel to absorb excess moisture. Store them in the crisp drawer of your fridge, where humidity levels are controlled.
This method preserves 90% of their original flavor and crispness for up to 4 weeks, depending on the variety.
Green onions typically last 2 weeks refrigerated, while chives and garlic chives can stretch to 3–4 weeks thanks to their higher moisture retention. The key is to avoid washing until just before use—excess moisture accelerates spoilage.
If you notice yellowing tips or limp stalks, it’s time to use them immediately, as these are signs of deterioration.
For long-term preservation (3–12 months), freezing is ideal for maintaining both flavor and nutrients. Start by blanching the greens for 30–45 seconds in boiling water, then plunging them into ice water to stop the cooking process.
Pat them dry thoroughly before packing into airtight freezer bags or containers, removing as much air as possible. When stored at 0°F or below, frozen allium greens retain 85% of their original flavor for up to 12 months.
Drying is perfect for creating pantry staples that last 6–12 months. Use a dehydrator, food dryer, or even a well-ventilated sunny spot to dry the greens. Spread them out in a single layer on a mesh screen or dehydrator tray, ensuring they’re not overlapping.
Once completely dry (they should crumble easily), store them in airtight containers away from light. Dried allium greens lose some moisture content but retain 80% of their flavor and can be rehydrated for soups, teas, or seasoning blends.
Fermenting is a unique method that not only preserves flavor but also enhances nutritional value with probiotics. To ferment allium greens, pack them tightly into a clean glass jar, covering them with a 2–3% brine solution (2–3 tbsp salt per quart of water).
Leave 1 inch of headspace and weigh down the greens with a fermentation weight or airtight lid. Store at room temperature (60–75°F) for 3–7 days, then refrigerate. Fermented greens develop a tangy, umami-rich flavor and last 6–12 months in the fridge.
Each method has its place in your gardening routine. For immediate use, refrigeration keeps greens fresh for weeks. For long-term storage, freezing or drying ensures you never waste a harvest.
And if you’re experimenting with gut-healthy foods, fermenting adds a probiotic boost while preserving flavor. Choose the method that best fits your lifestyle—and enjoy allium greens year-round!