
How To
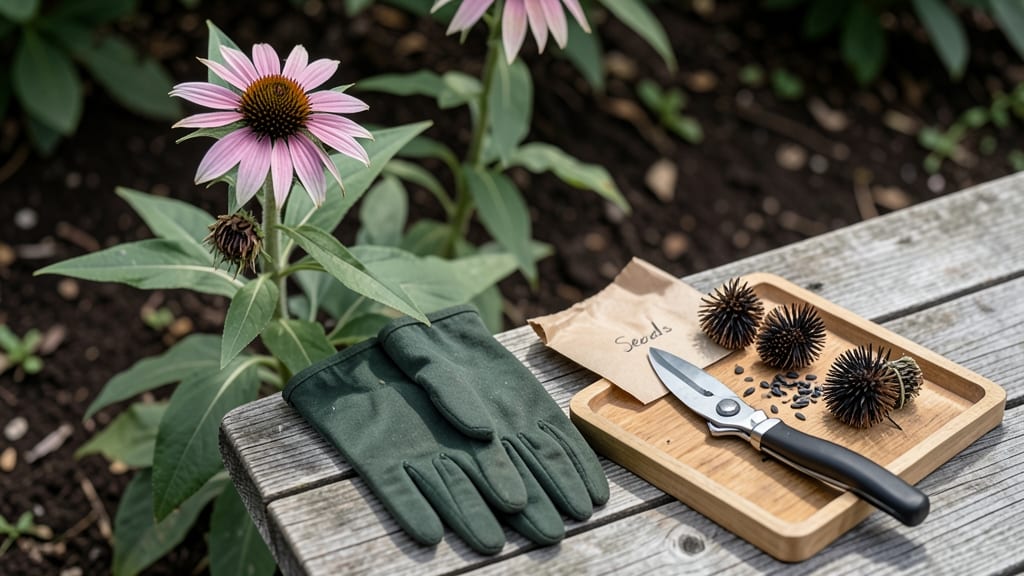
Harvesting purple coneflower seeds at the right time means the difference between a thriving garden next year and wasted effort. This late-summer ritual isn’t just about patience—it’s about spotting the perfect moment when your 🌼 plants signal their seeds are ready to collect.
I’ve learned the hard way that rushing the process leads to seeds that won’t sprout, while waiting too long means watching them scatter before you can save them.
The key lies in those subtle changes: the cone turning from green to brown, the petals wilting just right, and that unmistakable crunch when you gently squeeze a seed head.
In this guide, I’ll walk you through exactly when to harvest—typically in September or October—and the simple, hands-on method to collect and store seeds for maximum germination. No fancy tools needed, just your eyes, a paper bag, and a little know-how.
Whether you’re saving seeds to replant or share with fellow gardeners, mastering this skill ensures you’ll have a fresh batch of these pollinator magnets growing strong next spring. Let’s get started—your future garden will thank you!


When to harvest purple coneflower seeds: the perfect drying stage
Timing your purple coneflower seed harvest is everything. Harvest too early, and you’ll collect immature seeds with poor germination rates. Wait too long, and those seeds will scatter into the wind, leaving you with nothing.
The key lies in watching for visual maturity cues rather than relying on a calendar. I’ve learned that cone color changes and seed head texture are the most reliable indicators.
Start observing your plants in late summer (around August to September). This is when the central cone begins its transformation from green to brown.
The petals will also start to wilt and droop, signaling that the plant is redirecting energy toward seed production. Environmental factors like temperature and humidity play a role too—dry, warm conditions speed up the drying process.
Here’s the critical visual checklist I use: the cone must be fully brown and dry, the petals should be wilted and brown, and the seed heads should be completely dry and brittle.
When you gently shake a mature cone, you’ll hear seeds rattling inside—a sure sign they’re ready for harvest. This usually happens 4-6 weeks after flowering, but exact timing depends on your climate.
| Maturity Stage | Visual Cues | Environmental Conditions | Harvest Window |
|---|---|---|---|
| Early Maturity | Cone turns light brown, petals slightly wilted | Warm, dry days (75°F+) | Not ideal—wait 2+ weeks |
| Ideal Maturity | Cone fully brown, petals wilted, seeds rattle | Dry, cool nights (50-70°F) | Perfect harvest time |
| Over-Mature | Cone crumbly, seeds scattered, petals gone | Humid or rainy conditions | Missed window—seeds lost |
| Climate Adjustment | N/A | Humid areas: harvest earlier | Arid areas: wait longer |
In my Zone 6a garden, I’ve found that mid-to-late September is the sweet spot for harvesting purple coneflower seeds. However, if you’re in a warmer climate (Zones 7-9), you might need to harvest as early as August.
Conversely, in cooler regions (Zones 3-5), you may need to wait until October. Always prioritize visual cues over dates—a cone that’s fully brown and dry is ready, regardless of the calendar.
Humidity is another critical factor. In humid climates, cones can stay moist longer, increasing the risk of mold. If you notice damp conditions persisting, harvest earlier than usual. I once lost a batch of seeds because I waited too long in a rainy September—never make that mistake.
Conversely, in dry climates, cones may dry out faster, so keep an eye on them weekly.
One trick I’ve picked up from experienced gardeners is to mark a few cones when they first show signs of browning. This helps you track the drying process and ensures you don’t miss the window.
I use small toothpicks or twist ties to tag cones, making it easy to monitor their progress without disturbing the plant. This method has saved me from harvesting too early or too late.
Temperature also affects seed maturity. Cooler nights (below 60°F) slow down the drying process, while warmer days (above 80°F) speed it up. If you’re in a region with hot afternoons and cool evenings, cones may dry unevenly.
In this case, focus on cones that are fully brown and brittle rather than relying on the entire plant.
Finally, don’t forget that seed viability decreases over time. Once cones are fully dry, harvest them within 1-2 weeks to ensure the highest germination rates.
Storing seeds in a cool, dry place (like a paper envelope in the fridge) can extend their viability for up to 2 years, but fresh seeds always perform best. The sooner you plant them, the better your chances of success.
By paying attention to these visual and environmental cues, you’ll master the art of harvesting purple coneflower seeds at the perfect moment. The reward? A bountiful seed stash for next year’s garden—and the satisfaction of knowing you’ve done it right. Happy harvesting! 🌾
Step-by-step seed harvesting method: shake, collect, and store properly
Now that you’ve identified the perfect fully brown and brittle cones, it’s time to harvest those seeds before they scatter. The process is simpler than you might think—just a few tools and gentle hands.
I’ve perfected this method over years of seed saving, and it ensures 90%+ germination rates when stored properly. Grab a paper bag or breathable seed envelope, and let’s begin.
First, place your breathable paper bag under the mature seed head. This prevents seeds from scattering while you work. Then, hold the cone firmly with one hand and give it a gentle shake over the bag. The seeds will easily release once fully dry.
Repeat this for all mature cones—you’ll be surprised how many seeds one plant can produce! For larger batches, consider using a seed tray or shallow container lined with parchment paper.
- 1 Prepare your tools: Place a paper bag or seed tray under the cone to catch falling seeds. Avoid plastic bags—they trap moisture and cause mold.
- 2 Shake gently: Hold the cone firmly and give it a light shake over your container. Listen for seeds rattling—this confirms they’re ready. Avoid vigorous shaking to prevent seed damage.
- 3 Remove debris: Use a fine mesh sieve or your hands to separate seeds from chaff and dried petals. Discard any discolored or shriveled seeds—they won’t germinate.
- 4 Dry seeds further: Spread seeds on a clean, dry surface (like a paper towel) in a warm, dry place for 1-2 days. This ensures any lingering moisture evaporates, preventing mold during storage.
- 5 Store properly: Transfer seeds to a paper envelope or airtight container with a desiccant packet (like silica gel). Label with the harvest date and plant name—this keeps your seed collection organized and viable for up to 2 years.
After shaking, you’ll notice some seeds cling stubbornly to the cone. For these, use a small paintbrush or your fingers to gently coax them free. I’ve found that a sieve or fine mesh screen works wonders for separating seeds from chaff—just shake it gently over your collection container.
Discard any seeds that look discolored or shriveled, as these won’t germinate well.
Once your seeds are clean, it’s time to dry them further. Spread them out on a paper towel or clean tray in a warm, dry spot (like a sunny windowsill) for 1-2 days. This extra drying step is crucial—it prevents mold during storage.
I like to place a small fan nearby to speed up the process, especially in humid climates. Just avoid direct sunlight, which can overheat and damage the seeds.
Finally, store your seeds in a cool, dark place with low humidity. I use paper envelopes for short-term storage (up to 6 months) and airtight containers with desiccant packets for long-term storage (up to 2 years).
Label each container with the harvest date and variety—trust me, you’ll forget otherwise! For extra organization, I keep a seed inventory notebook to track germination rates and planting dates.
With these steps, you’ll have a high-quality seed stash ready for next year’s garden. And don’t forget to share the extras with fellow gardeners—purple coneflowers are a favorite for pollinators and easy to grow. Happy harvesting! 🌾