
How To
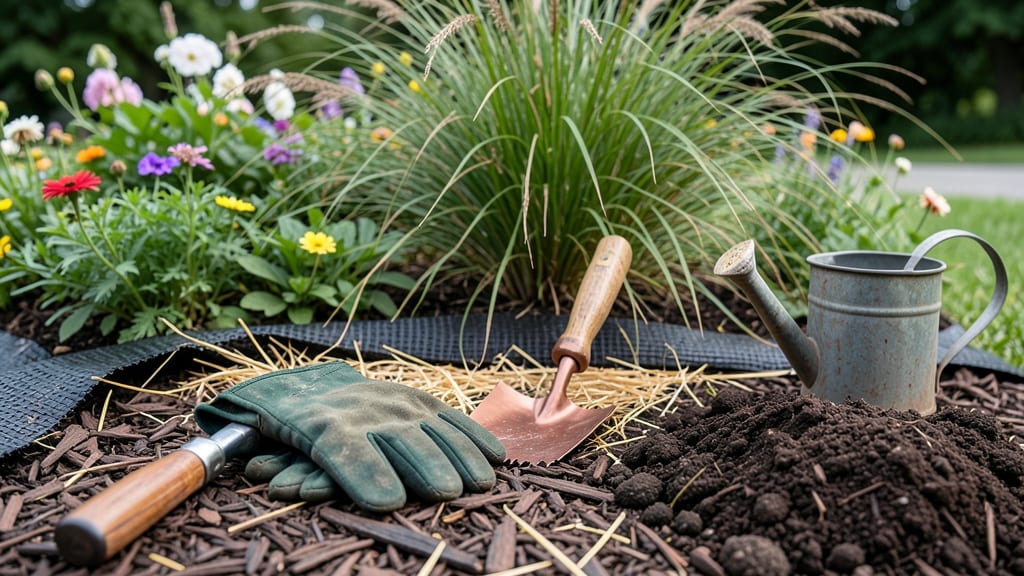
To make a flower bed that bursts with color and stays vibrant all year, you don’t need a degree in horticulture—just a little strategy and the right plant combinations.
A well-designed flower bed transforms any outdoor space into a living work of art, whether you’re working with a small urban plot or a sprawling backyard.
I’ll walk you through the essential steps, from preparing the soil and choosing the perfect layout to selecting plants that thrive together. The key is layering: tall blooms at the back, mid-height plants in the middle, and low-growing ground covers in front.
This approach ensures your 🌸 General Flower Bed stays dynamic, with something in bloom from spring through fall.
You’ll discover how to balance colors, textures, and seasonal interest so your garden never looks dull. Whether you’re in USDA Zone 6a or just starting out, these tips will help you create a flower bed that’s as easy to maintain as it is stunning.
Let’s get your green space ready for a season of beauty.
By the end, you’ll know exactly how to plan, plant, and care for your flower bed so it thrives year after year. No more guessing—just confident, foolproof design that makes your outdoor space the envy of the neighborhood.
Step-by-step guide to designing a layered flower bed layout
A layered flower bed creates depth and visual interest by arranging plants in tiers based on height and function. The tall back layer anchors the design, mid-height plants add texture, and ground covers fill gaps at the front.
This approach ensures no bare soil shows and your garden stays lush year-round. Start by sketching your design on paper to visualize the flow before digging the first hole.
Before planting, test your soil’s pH and drainage—most flowers thrive in 6.0–7.0 pH with well-draining soil. Amend heavy clay with compost or sand, and mix in organic matter like aged manure or leaf mold.
A soil test kit costs under $20 and saves you from guesswork. I always mark my test results on a small chalkboard near my garden tools for quick reference.
Now, let’s break down the process into clear, actionable steps to create a stunning layered flower bed that’s easy to maintain.
Step-by-Step Guide to Layering Your Flower Bed
- 1 Choose Your Location: Pick a spot with 6+ hours of sunlight (adjust for shade-loving plants). Avoid areas with poor drainage or heavy foot traffic. Sketch the bed’s shape on paper—rectangular or curved beds work best for layered designs.
- 2 Mark the Layout: Use spray paint or string to outline the bed’s edges. Divide the space into three zones: back (tall plants), middle (mid-height), and front (ground covers). For a 4-foot-wide bed, allocate 1 foot to each layer.
- 3 Prep the Soil: Remove weeds, grass, and debris. Loosen the soil to a depth of 12–18 inches using a garden fork or tiller. Mix in 2–3 inches of compost and a slow-release fertilizer (like 10-10-10) to nourish roots.
- 4 Plant Tall Back Layer First: Place perennials or shrubs (3–6 ft tall) like coneflowers, black-eyed Susans, or butterfly bush at the back. Space them 18–24 inches apart to allow airflow and growth. Dig holes twice as wide as the root ball and water deeply after planting.
- 5 Add Mid-Height Plants: Fill the middle layer with 18–36 inch plants like daylilies, salvia, or Russian sage. Space these 12–18 inches apart, leaving room for foliage to spill slightly over the edges. Group plants with similar water and sunlight needs together.
- 6 Fill the Front with Ground Covers: Use low-growing perennials or annuals (under 12 inches) like ajuga, creeping thyme, or impatiens to cover the soil. Space these 6–12 inches apart and mulch with 2–3 inches of organic mulch (like shredded bark) to retain moisture and suppress weeds.
- 7 Water Thoroughly: Give the bed a deep watering (1–2 inches of water) to settle the soil and encourage root growth. Water in the morning to reduce evaporation and fungal risks. Use a soaker hose or drip irrigation for even moisture.
- 8 Mulch and Maintain: Apply a 2–3 inch layer of mulch to protect roots and retain moisture. Replenish mulch annually and deadhead spent blooms to encourage continuous flowering. Fertilize lightly in spring and summer with a balanced fertilizer.
When selecting plants, prioritize seasonal interest—pair spring bloomers like daffodils with summer favorites such as black-eyed Susans and fall/winter stars like mums or hellebores. This ensures your flower bed stays vibrant even when some plants go dormant.
I always keep a planting journal to track bloom times and adjust combinations yearly.
Best flower combinations for year-round color and texture
A year-round flower bed isn’t just about pretty blooms—it’s about creating a dynamic tapestry of color, texture, and seasonal interest. The secret lies in pairing plants that bloom at different times and offer varied foliage.
For example, spring bulbs like tulips and daffodils kick off the season, while fall mums and winter hellebores keep things lively when other plants rest.
To achieve this, I focus on three layers: tall backdrops (like shrubs or ornamental grasses), mid-height perennials (such as coneflowers or black-eyed Susans), and low-growing ground covers (like creeping thyme or ajuga).
This structure ensures every inch of your bed contributes to the visual appeal, no matter the season.
Here’s how to mix and match for continuous color and texture, with a focus on USDA Zone 6a plants that thrive together:
For texture, I love adding ornamental grasses like Miscanthus or Feather Reed Grass to sway in the breeze, contrasting with the structured forms of shrubs like Potentilla or Spirea.
These evergreen or semi-evergreen options provide year-round structure, even when flowers fade. Pair them with perennials like Heuchera (coral bells) for vibrant foliage that changes color with the seasons.
Don’t forget to include annuals for quick color fixes! Pansies in spring and fall, and Marigolds in summer, fill gaps and extend your bed’s lifespan. Just ensure they complement your perennials’ colors—think purples and blues with silver foliage, or yellows and oranges with deep green leaves.
With these combinations, your flower bed will stay lively from March’s first blooms to December’s frost-resistant evergreens. The key is planning ahead: sketch your layout, note each plant’s bloom time, and group them by sunlight needs.
Soon, you’ll have a garden that’s as rewarding to maintain as it is beautiful to behold.