
How To
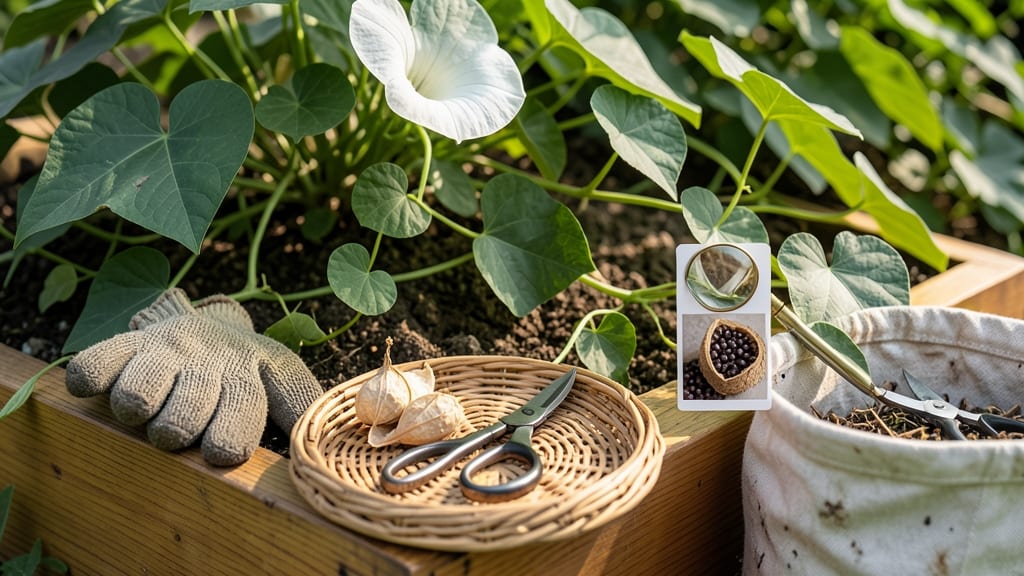
Timing the harvest of your Moonflower 🌙 seed pods can feel like waiting for the perfect moment—get it wrong, and you’re left with empty pods or scattered seeds.
The difference between a bountiful seed stash and a lost opportunity comes down to knowing exactly when those pods are ready to pick.
Most gardeners miss the ideal window because they focus on the flowers instead of the pods. But here’s the key: harvest when the pods turn brown and dry, just before they split open naturally.
This usually happens in late summer to early fall, when your Moonflower plant starts to fade and the pods begin to rattle when shaken.
Why does timing matter so much? Harvesting too early means immature seeds that won’t sprout, while waiting too long risks losing seeds to wind or wildlife.
I’ll show you how to spot the perfect pods and collect them efficiently—so you can save those seeds for next year’s garden without a hitch.
Ready to turn those Moonflower pods into a seed-saving success? Let’s break down the exact cues to watch for and how to handle them once they’re ripe.


How to identify perfectly ripe moonflower seed pods before they open
Moonflowers (Ipomoea alba) reward patient gardeners with abundant seed pods when harvested at the perfect moment. The challenge? Catching them just before they split open naturally. Miss this window, and you'll end up with scattered seeds or empty pods.
Timing your harvest correctly ensures high-quality seeds for next season's garden. Let's explore the visual and tactile cues that signal it's time to act.
First, focus on the pod color as your primary indicator. When moonflower pods mature, they transition from bright green to brown. This color change happens gradually, so don't rush—wait until the entire pod is uniformly brown.
A half-brown pod means the seeds aren't fully mature yet. The color shift is nature's way of telling you the seeds inside are ready for collection, but the window is narrow.
Next, pay attention to the pod's texture. A ripe moonflower pod should feel dry and papery to the touch, almost like crumpled parchment. If you run your fingers over the surface and it feels slightly rough or gritty, that's a good sign.
In contrast, an unripe pod will feel firm and moist, almost like a fresh green bean. This tactile check is especially useful when color cues are ambiguous due to lighting conditions.
One of the most reliable methods is the "shake test". Gently grasp a pod between your fingers and give it a light shake. If you hear a distinct rattling sound, it means the seeds inside are loose and mature.
This sound occurs because the seeds have fully developed and detached from the pod walls. If no sound is produced, the seeds aren't ready yet—wait a few more days and check again.
Here’s a quick visual comparison to help you decide when moonflower seed pods are ready for harvest:
| Pod Stage | Color | Texture | Sound | Action |
|---|---|---|---|---|
| Unripe | Bright green | Firm and moist | None | Wait 3-5 days |
| Partially Ripe | Green-brown | Slightly dry | Muffled | Wait 1-2 days |
| Perfectly Ripe | Uniform brown | Dry and papery | Rattling | Harvest immediately |
| Overripe | Brown and cracked | Brittle | Empty or scattered | Too late |
Another key visual cue is the seed visibility through the pod's thin walls. When the seeds are ready, you should be able to see them clearly inside. Look for distinct seed shapes and colors—usually a mix of tan and darker hues.
If the seeds are still translucent or hard to see, they need more time to mature. This step is especially helpful if you're unsure about the pod's texture or sound.
Timing your harvest in the right season also plays a crucial role. Moonflowers typically produce seed pods in late summer to early fall, usually between August and September in most USDA zones.
Pay attention to your local climate—cooler temperatures and shorter days signal the plant to focus on seed production. If you're in a warmer climate, pods may mature earlier, so stay vigilant.
Waiting too long to harvest can lead to seed loss and wasted effort. Once the pods split open naturally, the seeds scatter easily, especially in windy conditions. Even if you find seeds on the ground, they may not retain their viability.
The goal is to intercept the pods just before they open on their own. This requires daily checks during the harvest window, particularly on dry, sunny days when pods are most likely to split.
If you're harvesting a large number of pods, consider using a small mesh bag or paper envelope to collect them. This prevents seeds from spilling out and makes the drying process easier.
Once collected, store the pods in a cool, dry place for a few days to ensure they're fully dry before processing. Proper storage is key to maintaining seed viability for next season's planting.
Finally, remember that moonflowers are annuals, meaning they complete their life cycle in one season. As the plant prepares for dormancy, it redirects energy toward seed production.
This natural process is your best guide—when the leaves start to yellow and die back, it's a clear sign that the seed pods are nearing maturity. Don't ignore this seasonal cue; it's a reliable indicator that harvest time is approaching.
Step-by-step guide to harvesting moonflower seeds without losing them
Harvesting moonflower seeds requires precision—collect them too early, and they won’t germinate; too late, and they’ll scatter across your garden. The key is timing and preparation. Once you spot brown, papery pods that rattle when shaken, act fast to secure your seeds for next season’s planting.
I’ve learned the hard way that rushing or waiting too long leads to empty pods, so follow this guide to maximize your yield.
Start by gathering the right tools before heading outdoors. You’ll need a pair of sharp pruning shears, a small paper bag or envelope for collecting seeds, and a damp cloth to clean any debris from the pods.
Work on a dry, sunny morning when humidity is low—this prevents mold and ensures seeds stay dry. Avoid harvesting after rain, as damp pods can rot or attract pests.
-
Step 1: Identify Ripe Pods
Look for brown, dry pods that feel papery and light when touched. Shake them gently—if they rattle with seeds, they’re ready. Avoid pods that are still green or moist. -
Step 2: Cut Pods Carefully
Use pruning shears to snip pods from the vine, leaving a small stem attached. Place them in a paper bag immediately to prevent seeds from scattering. -
Step 3: Dry Pods Indoors
Spread pods on a towel-lined tray in a warm, dry spot (like a sunny windowsill). Let them dry for 3–5 days until completely crisp. Avoid direct sunlight to prevent overheating. -
Step 4: Extract Seeds
Once pods are fully dry and brittle, gently crush them with your fingers or a small hammer over a clean surface. Sift through debris to collect plump, dark seeds. -
Step 5: Store Seeds Properly
Place seeds in a paper envelope or airtight container with a desiccant packet. Label with the harvest date and store in a cool, dark place for up to 2 years.
After harvesting, test a few seeds to check viability. Plant them in a small pot with moist seed-starting mix and keep them in a warm location. If they sprout within 7–14 days, your stored seeds are ready for next season’s garden.
If not, try storing them in the fridge for 1–2 weeks before retesting—sometimes seeds need a cold stratification period to break dormancy.
One pro tip I’ve picked up is to harvest pods in batches over 2–3 days if your moonflower vine is large. This prevents overloading your drying space and ensures you don’t miss any ripe pods.
Keep an eye out for early-maturing pods, as they often ripen faster than others. If left unchecked, they’ll split open and release seeds prematurely.
Finally, don’t forget to clean your tools afterward to avoid cross-contamination with other seeds or diseases. A quick wipe with rubbing alcohol keeps your pruning shears ready for next year’s harvest.
With these steps, you’ll turn moonflower seed pods from a scattered mess into a valuable garden resource—all while preserving the magic of these nocturnal blooms for seasons to come. 🌙🌱